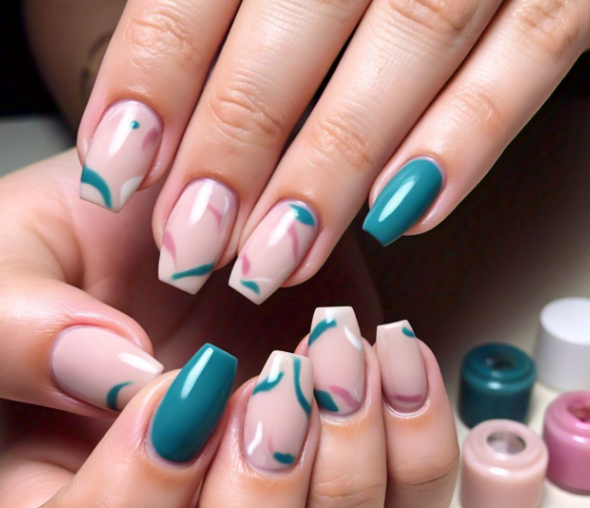
Ready to get into the holiday spirit right down to your fingertips? Many people tend to think that creating amazing nails with a catchy Christmas theme is nothing short of rocket science. But creating festive Christmas nails does not require professional skills or expensive tools – just a few items and your creativity.
Thus, if you’re planning on dazzling at holiday parties or just want your general mood and atmosphere to feel more festive while wrapping up presents, these simple steps will help you create beautiful Christmas-themed nails that everyone will ask where you got them done. Read on to discover how you can make these customized pieces to your liking.
1. Prep is your best friend
To start with, you can’t decorate a Christmas tree without setting it up, right? Your nails need preparation to get them perfect. Remove old polish altogether and shape your nails well. Of course, the holiday season is great for slightly longer Christmas nails because this gives more space for festive designs. Work with whatever length you feel comfortable wearing.
Consequently, clean, file, and buff your nails to smooth them. Push your cuticles back, do it gently, and apply a good base coat. This might be somewhat boring for you; however, believe me, these steps are necessary for your painting to last through all sorts of holiday events. Think of it like setting just the proper foundation for your winter wonderland.
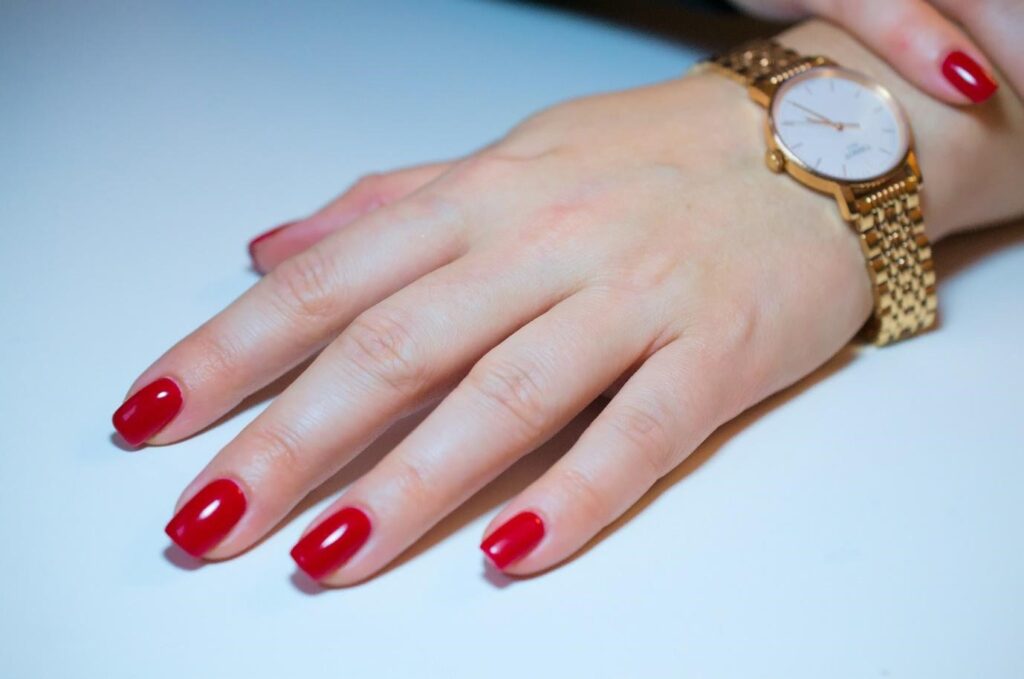
2. The classic red base
Nothing screams Christmas like a perfect red nail, and it will be the base for so many of your nail designs. Go for a bright, jolly red one that reminds you of Santa’s suit. Use two thin coats instead of one thick one to help prevent bubbling and ensure that your polish covers evenly. Let each coat dry completely; trying to rush through this step is similar to decorating cookies before they have cooled down.
3. Magic of simple snowflakes
Probably one of the easiest yet most effective Christmas nail designs you can make is snowflakes. Make six dots in a circular fashion using either a white nail art pen or a thin brush with white polish. Next, you will outline each dot with small outward lines. Remember, there is no need to be perfect, just like real snowflakes; each is different.
If you feel less confident about freehand designs, remove the dotting tool and dot some simple white dots onto your red base. Scattered across your nails, like snow falling, they are just as festive and foolproof.
4. The accent of the Christmas tree
Besides, choose to have one or two nails feature a miniature Christmas tree. On the red base, an upside-down triangle will be outlined with either a green nail art pen or a thin brush. Starting with a small dot at the top for a natural tree shape will allow you to make longer strokes toward the bottom.
Once your tree is dry, add small dots of various colors to represent ornaments. A small yellow dot at the top becomes your star, and a few white dots resemble snow on the branches. Keep it simple-sometimes the most charming trees aren’t the most elaborate.
5. Finishing touches
No Christmas nail art is complete without a good top coat. Go over your designs carefully, ‘capping’ the nail’s free edge by running the brush along the tip. It seals in your artwork and adds a gorgeous shine, like the glistening of fresh snow. Give your nails a lot of time to dry. If it must be quicker, use quick-dry drops, but patience here will pay off to keep your design fresh through all of your holiday celebrations.

Holiday Special Techniques and Quick Fixes
Let’s explore some genius tricks that can transform your Christmas nails from pleasant to magical. You know those moments when your handshakes and snowflakes look more like splatters?
- Here’s a salon secret – take a toothpick, dip it in acetone, and clean up those mistakes without ruining your base color. Think of it as a holiday nail art eraser—a game-changer when working on detailed designs.
- Want to create a gorgeous glitter gradient that looks just like falling snow? Paint your base color and take a makeup sponge. Dot white glitter polish onto the tip of your nail, hitting the sponge lighter and lighter as you go downwards. That’s how you get that pretty, perfect fade that resembles drifting snow.
- For extra sparkle, try layering different sizes of glitter-chunky glitter at the tip and fine glitter as you move down. It’s just like decorating a Christmas tree; you put the larger ornaments first and fill in with the smaller ones.
- Moreover, many people don’t realize that temperature affects how you apply your polish. Cold air can make polish thick and awkward, while too much heat can bubble it. Store your polishes at room temperature; if they’re too thick, work the bottle between your palms (never shake-that creates bubbles!). Therefore, take extra heating precautions if you do artwork with stickers or decals. They’ll be more flexible and stick better to the shape of your nail, just like how the cookie dough is warmed up to make it easier to work with.

Final Thoughts
Doing your Christmas nails shouldn’t be stressful; it’s supposed to be fun. This moment comes once a year, usually accompanied by plenty of love and pleasant memories. If your snowflake is not perfect and your tree is a little shaky, remember that the charm of homemade decorations is incomparable. Master these basic designs, and before you notice, you’ll be doing holiday nail art rivaling those from any professional salon – while having lots of fun at it!